Home » How to Install Solar Street Light – Everything You need to Know
How to Install Solar Street Light – Everything You need to Know
SaveSavedRemoved 0
Installing solar street lights can be a sustainable and cost-effective way to provide illumination for outdoor areas. Here’s a step-by-step guide on how to install solar street lights:
Tools and Materials You’ll Need:
- Solar street light(s)
- Pole or mounting structure
- Concrete or mounting bolts
- Screwdriver or wrench
- Spirit level
- Wire stripper and connectors
- Solar panel assembly (if not integrated)
- Battery assembly (if not integrated)
- Controller (if not integrated)
- Wiring and cables
- Concrete mix (if required)
Installation Steps:
1. Select the Installation Location:
- Choose a location that receives ample sunlight during the day for efficient solar charging.
- Ensure there are no obstructions like trees or buildings blocking the sunlight.
- Consider the purpose of the lighting and position the street light accordingly.
2. Prepare the Mounting Structure:
- If you’re using a pole, dig a hole of the appropriate depth and diameter based on the pole’s specifications.
- If using a wall or existing structure, ensure it’s strong and stable enough to support the street light.
3. Install the Mounting Structure:
- Insert the pole into the hole, ensuring it’s level and plumb.
- If using bolts, secure the pole to the ground or structure using concrete or mounting bolts.
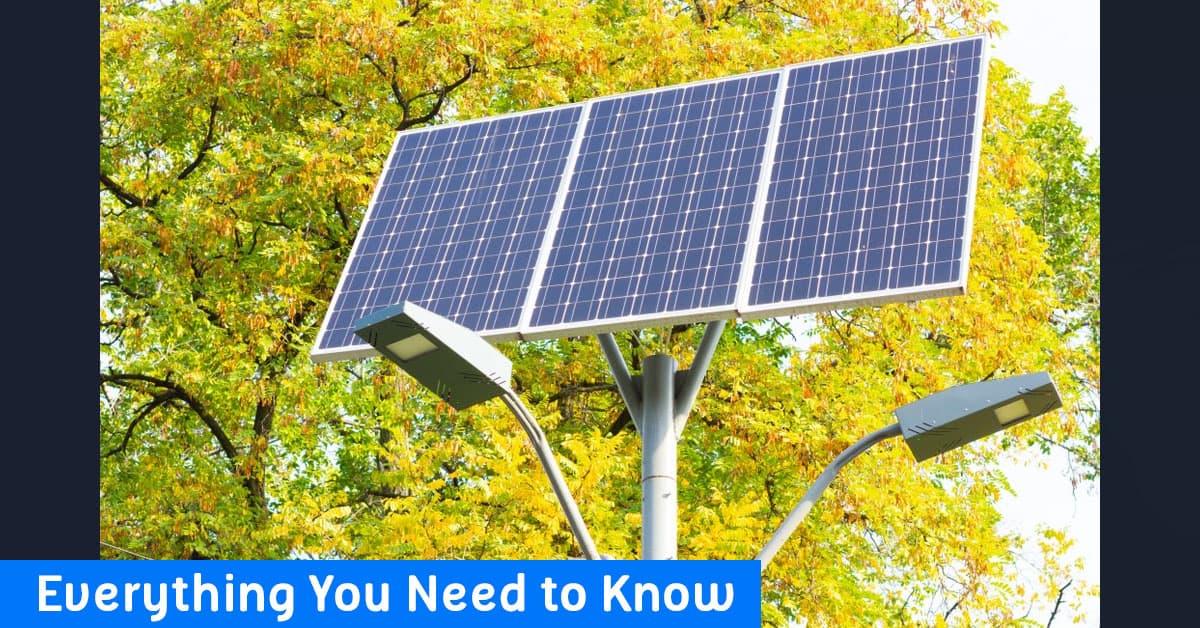
4. Assemble the Solar Panel:
- If your solar street light has a separate solar panel, install it on top of the pole or in a location that receives direct sunlight.
- Secure the solar panel firmly using brackets or clamps.
5. Connect the Wiring:
- Connect the solar panel wiring to the solar charge controller (if not integrated) and then to the battery assembly.
- Connect the battery to the LED lamp assembly and ensure all connections are secure and insulated.
6. Attach the Street Light Fixture:
- Secure the LED lamp assembly to the top of the pole using the provided hardware.
- Ensure it’s level and facing the desired direction for lighting.
7. Test the System:
- Before finalizing the installation, test the solar street light by covering the solar panel or simulating nighttime conditions.
- Verify that the light turns on and off automatically based on the built-in dusk-to-dawn sensor or controller settings.
8. Adjust Settings (if necessary):
- If your solar street light has adjustable settings such as lighting duration or brightness levels, configure them to meet your requirements.
9. Secure Loose Ends:
- Secure any loose wires or cables using cable ties or clips to prevent tripping hazards and protect them from the elements.
10. Final Check:
- Ensure all connections are tight and secure.
- Double-check the orientation of the solar panel and LED lamp for optimal performance.
11. Clean and Maintain:
- Periodically clean the solar panel to ensure maximum sunlight absorption.
- Inspect the system for any signs of wear or damage and perform routine maintenance as needed.
Once you’ve completed these steps, your solar street light should be fully installed and operational. Proper installation and maintenance will ensure that your solar street light continues to provide reliable and eco-friendly illumination for years to come.

